Cobo Portal offers two types of MPC Wallets: Organization-Controlled Wallets and User-Controlled Wallets. This guide focuses on setting up and using Organization-Controlled Wallets.
- Register and activate Cobo Accounts
- Set up Cobo Guard
- Invite members (optional)
- Set up transaction policies (optional)
- Add chains (optional)
- Create a wallet (optional)
- Set up Fee Station (optional)
- Enable auto token sweeping (optional)
- Configure KYA / KYT screening tools (optional)
- Deposit tokens (optional)
- Withdraw tokens
- Cobo Portal web
- WaaS 2.0 API
Prerequisites
- Contact our sales team to get your account activation link.
- An iOS device to run Cobo Guard, our app for multi-factor authentication (MFA), operation approval, transaction signing, and private key share management.
Register and activate Cobo Accounts
Use the activation link provided by our sales team to create your Cobo Account. Follow the invitation link in the email to complete activation:- Set a password
- Enter the email verification code
- Join the organization
Set up Cobo Guard
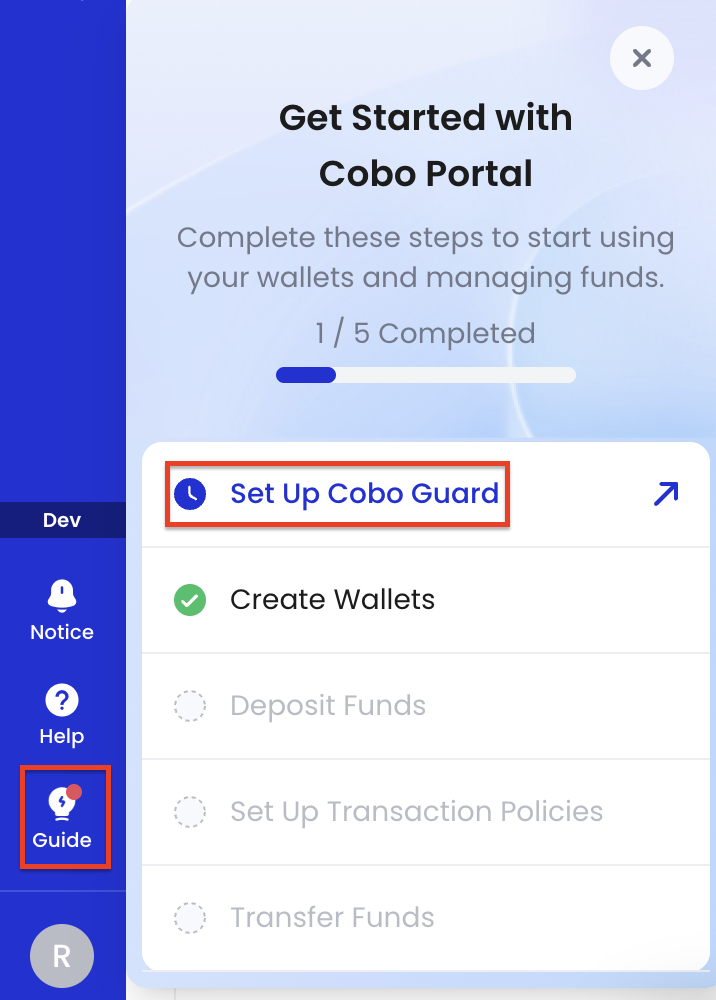
Log in to the development environment of Cobo Portal, and click Set Up Cobo Guard in the pop-up at the lower left corner. Follow the on-screen instructions to install Cobo Guard on your iOS device and link your account to it.
- Use it as the MFA method for Cobo Portal.
- Use it to approve various requests in Cobo Portal.
Invite members (optional)
You can invite team members to your organization and assign permissions. For the actions associated with each permission, refer to Roles and permissions.Set up transaction policies (optional)
Set transaction policies (risk control rules) for token transfers, including token type, amount, blocklist/allowlist, and approval thresholds (m/n approvals). Refer to Set up token transfer policy for details.Add chains (optional)
For your testing convenience, the development environment already includes pre-generated addresses for SETH, ETH, BTC, Tron, BNB, SOL, and TON. To add more chains, refer to Add chains.Create a wallet (optional)
For your testing convenience, the system has created the following by default:- A vault:
Cobo Demo Vault (Testing Only) - A wallet:
Default MPC walletin the above Vault - Private key shares: Main Key 2/2; Signing Key and Recovery Key are not configured automatically in the development environment.
Both key shares are held by Cobo by default. When you initiate a transaction from this MPC Wallet in the development environment, Cobo will automatically sign the transaction for you, so you don’t need to sign it manually.
- Introduction to Organization-Controlled Wallets
- Create an MPC Vault
- Main Key
- Signing Key
- Recovery Key
- Differences between Main Key, Signing Key, and Recovery Key
Set up Fee Station (optional)
In the development environment, you can enable Fee Station to simplify gas fee management. It acts as a shared account for your team, and you can deposit gas tokens or USD stablecoins into it, and the system will automatically cover on-chain gas fees based on your settings, while consolidating all platform fees into a single bill. For details, refer to Fee Station introduction.Enable auto token sweeping (optional)
If you want to automatically sweep tokens in your MPC Wallets, refer to Enable auto token sweeping.Configure KYA / KYT screening tools (optional)
If you need to perform KYA / KYT screening on your MPC Wallets, refer to Screening App introduction.Deposit tokens (optional)
For your testing convenience, SETH test tokens are automatically allocated to you in the development environment.If you need to deposit other tokens (such as USDC or USDT), confirm the chain used (Tron / BEP-20 / ERC-20, etc.) and refer to Transfer (deposit / withdraw) for more details. To pay on-chain gas fees, ensure your wallet has enough gas tokens for the corresponding chain. You can deposit gas tokens or USD stablecoins into Fee Station to use the gas fee payment feature.
Withdraw tokens
Cobo Portal web
Please refer to Transfer from MPC Wallets (organization-controlled).WaaS 2.0 API
This section shows how to use the WaaS 2.0 API with MPC Wallets (Organization-Controlled) to deposit and withdraw tokens.-
Generate an API Key and API Secret
Generate an Ed25519 key pair locally to serve as your API Key (public key) and API Secret (private key).
For more details, refer to Generate API Key and API Secret. -
Register the API Key
After generating the API Key, register it in Cobo Portal and assign the user role and wallet scope.
Refer to Register API Key. -
Integrate the WaaS SDK
After configuring your API Key, integrate the WaaS SDK.
To begin with, you can call a read-only API (such as list supported chains) to test if your SDK setup is working.
For details, refer to: -
Set up callbacks and webhooks (optional)
For strengthened security, set a callback endpoint to confirm withdrawal requests.
Refer to Webhooks and callbacks guide. -
Initiate a withdrawal transaction
If you have configured transaction policies, a Main Key, or callback endpoints for your wallet, these settings will affect the withdrawal process. For example, you may need additional approval before the transaction can be completed. Before withdrawing, ensure your wallet has enough gas tokens or that you have enabled Fee Station for gas fee payment. The following is an example code using the JavaScript WaaS SDK. For more details, see the Transfer token API documentation.Example response:
Check transaction status
After submitting a transaction, you can check its status via:- Cobo Portal web interface: Go to Wallet > Transaction history.
- WaaS 2.0 API:
