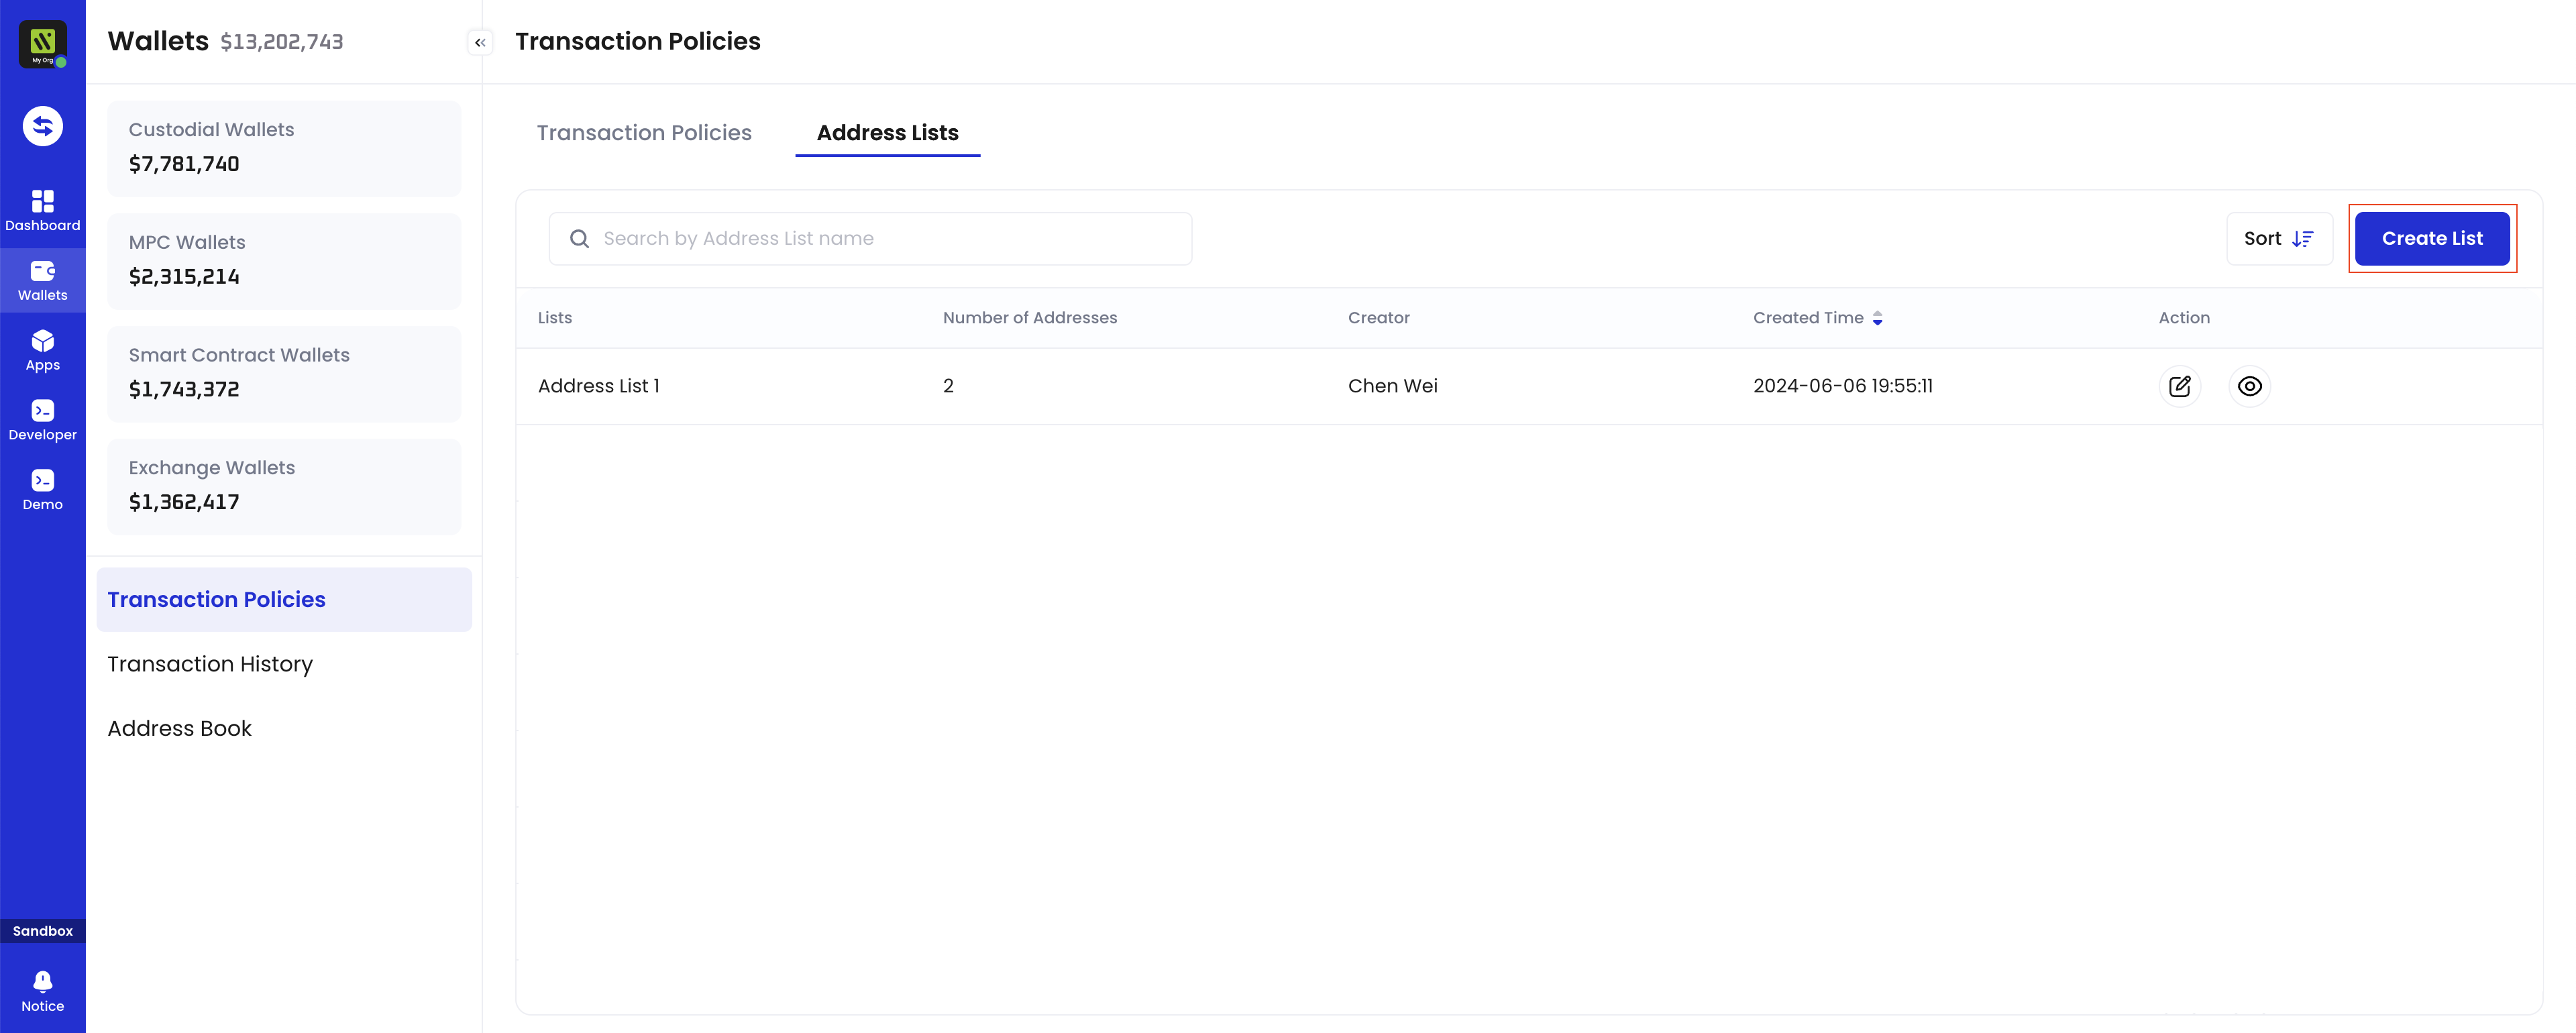
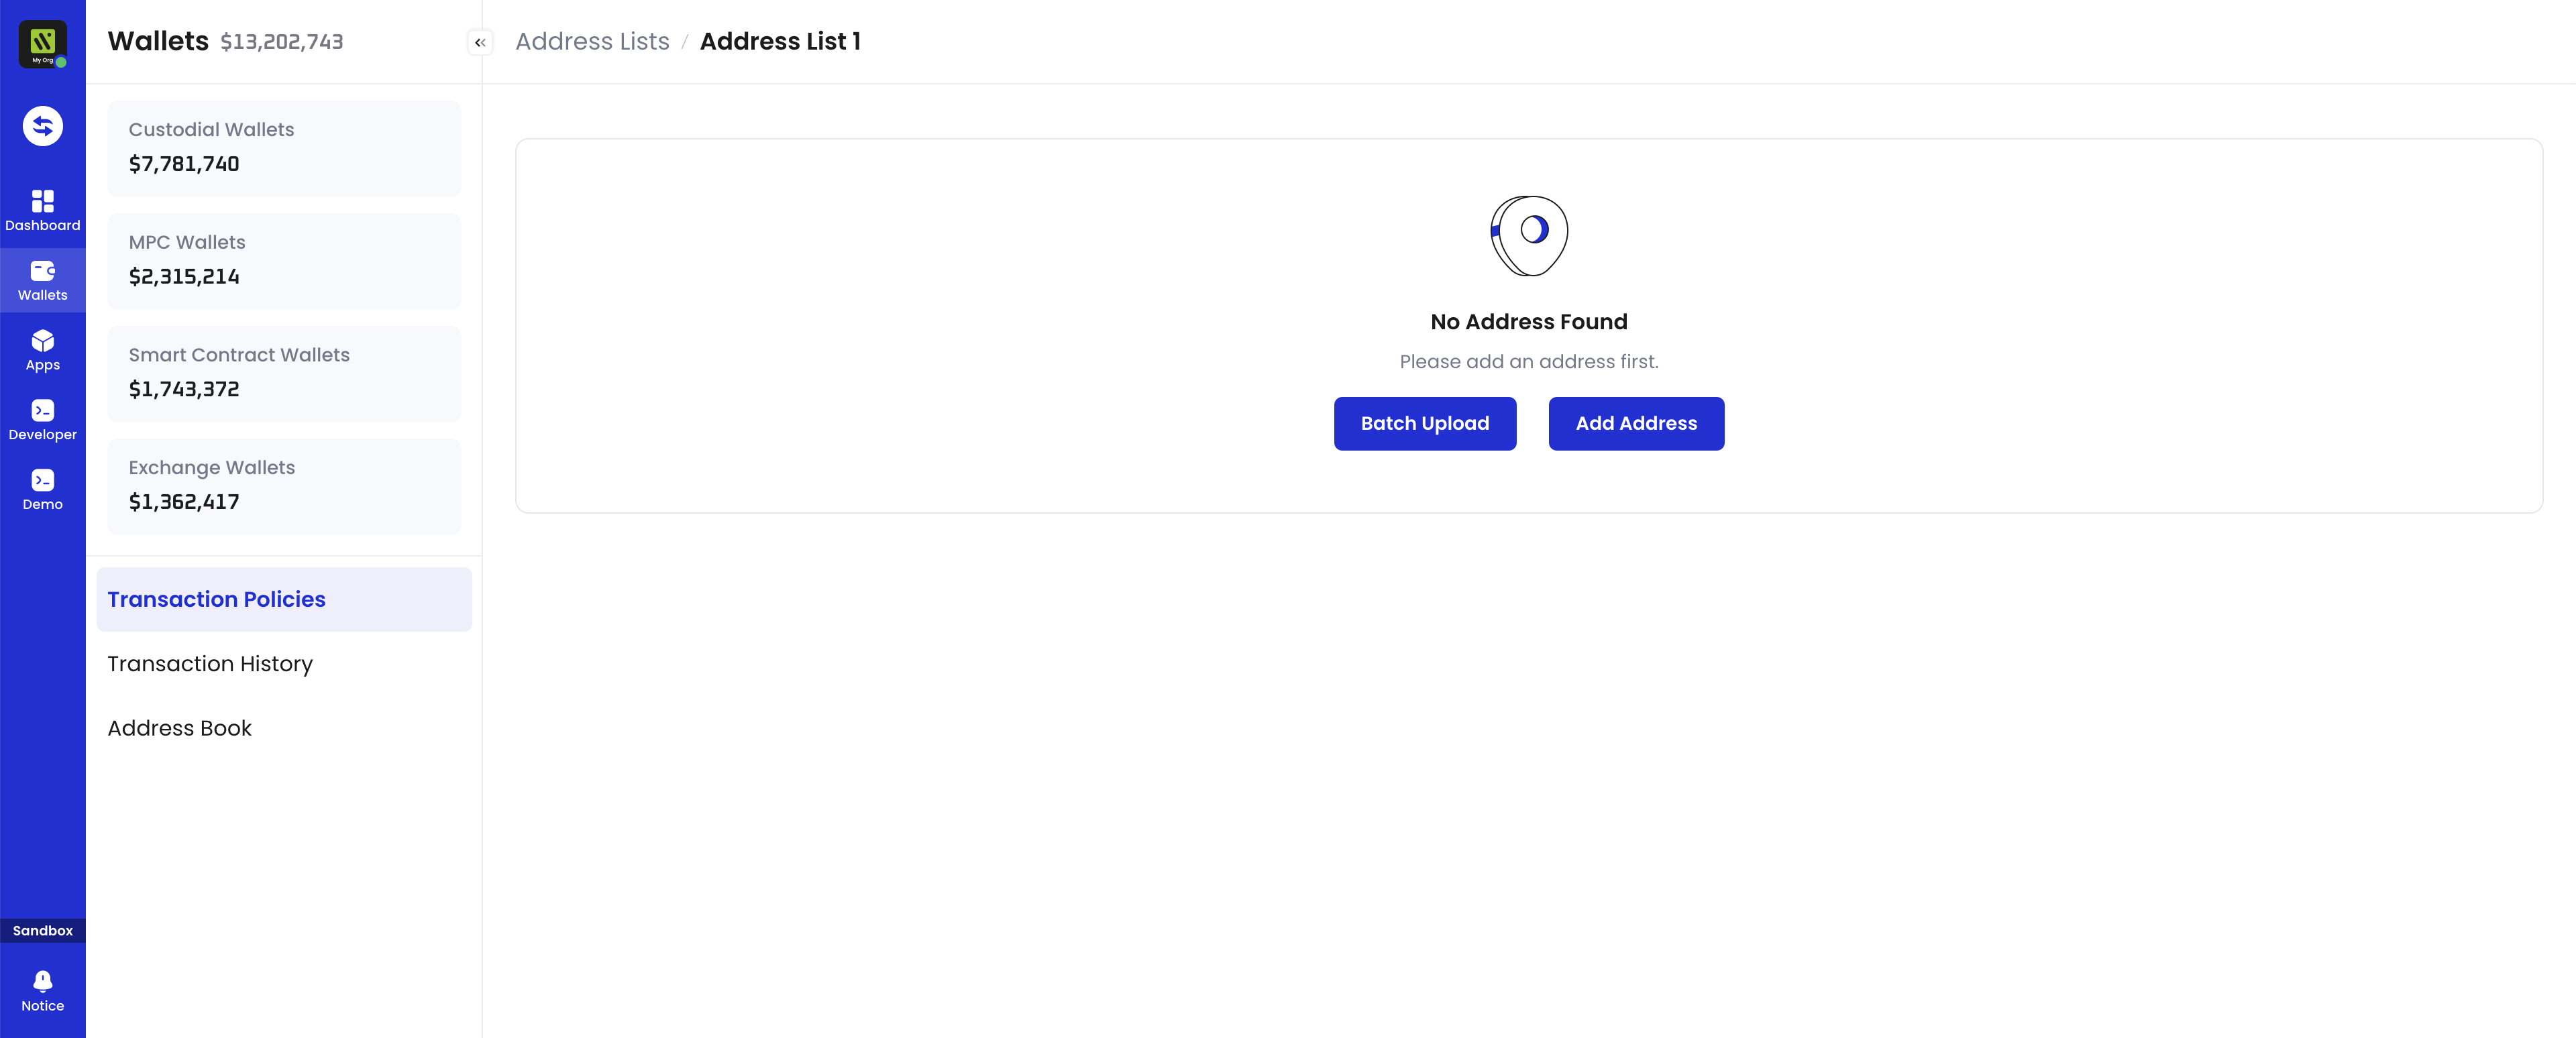
Create an address list
Deletion of created lists is currently not supported.
- Log into Cobo Portal
-
Click
> Transaction Policies.
- Switch to the Address Lists tab.
-
Click Create List.

- Enter a name for your address list. The name should not exceed 30 characters and must be unique within your organization.
- Click Confirm.
Add addresses to an address list
- Log into Cobo Portal
-
Click
> Transaction Policies.
- Switch to the Address Lists tab.
- Click the address list you would like to manage.
-
You can choose either Batch Upload or Add Address:

-
Batch upload addresses
- Download the template file, which outlines the format requirements for uploading addresses. The template includes columns for Address and Label, where you can input address data and labels (labels are optional and limited to 100 characters). The system prioritizes labels from the uploaded file, and if no label is provided in the uploaded file, it will automatically sync labels from the Address Book.
- Click Choose File to select and upload your address file. Please ensure that the file is in CSV format and does not exceed 1MB in size.
- Upon successful upload, the name of the uploaded file will be displayed. If you want to replace the currently uploaded file with a new one, click Choose File again.
If the uploaded file contains addresses that already exist in the current address list, the system will automatically filter out these duplicate addresses, retaining only the new addresses.
- Click Upload and, if required, complete the 2FA verification.
-
Manually add addresses
- Click Add Address.
- In the pop-up window, enter an address and optionally add a label for each address (limited to 100 characters). To add more than one address, click + Add.
- If the address entered already exists in the address list or has been added to the current pop-up window, an error message will appear and the addition will fail.
- If the address already exists in the Address Book with a label, the system will automatically fill in that label, which you can modify.
- Click Submit and, if required, complete the 2FA verification.
-
Batch upload addresses
Managing address labels in address lists
Transaction policy address lists support adding labels to each address, enhancing address identification and management efficiency. You can set labels when batch uploading or manually adding addresses. For addresses already added, you can update their labels. Updates take effect immediately after completing MFA verification.Address labels in Address Lists vs. Address Book
Differences between Address Lists and Address Book:- Address Book: Global address information storage, typically maintained by withdrawal operators, used for quick address lookup during transfers.
- Address Lists: White/blacklists for transaction policies, typically managed by internal risk control or security operations specialists, used to establish transaction legitimacy rules.
- When first adding addresses:
- Batch upload: The system prioritizes labels from the uploaded file, and if no label is provided in the uploaded file, it will automatically sync labels from the Address Book.
- Manual addition: If the address already exists in the Address Book with a label, the system will automatically fill in that label, which you can modify.
- When changing labels: Labels in transaction policy address lists and the Address Book are independent of each other. Changing a label in one place does not affect the label in the other.
