> ## Documentation Index
> Fetch the complete documentation index at: https://manuals.cobo.com/llms.txt
> Use this file to discover all available pages before exploring further.
# Set up Cobo Connect
> Step-by-step instructions for setting up Cobo Connect, ensuring secure and efficient access to a wide range of decentralized applications.
We recommend using [WalletConnect](/en/walletconnect/introduction) whenever possible for better multi-chain support and overall user experience. Cobo Connect will be gradually phased out based on actual usage and will remain available during the transition period.
Follow the steps to install Cobo Connect and import Cobo Portal wallet addresses.
## Install Cobo Connect
1. On the [Cobo Connect](https://chromewebstore.google.com/detail/cobo-connect/imnmigiomjbgehplnfpajkgeaibljnik?pli=1) extension page, click **Add to Chrome.**
2. Read the information in the pop-up window and click **Add extension** if you agree to the terms.
3. Disable other wallet extensions as suggested, then click **Continue**.
4. Create and confirm the password for Cobo Connect, then click **Continue**.
5. Follow the on-screen instructions and pin the extension for easier access, then click **Continue**.
## Import wallet addresses into Cobo Connect
Currently, you can import addresses of [MPC Wallets](/en/portal/mpc-wallets/introduction) created under [Organization-Controlled Vaults](/en/portal/mpc-wallets/ocw/create-mpc-vault), [Web3 Wallets](/en/portal/custodial-wallets/web3-wallets/set-up), and [Smart Contract Wallets](/en/portal/smart-contract-wallets/introduction). Cobo Connect supports only EVM networks, so ensure that the addresses you import are compatible with EVM networks.
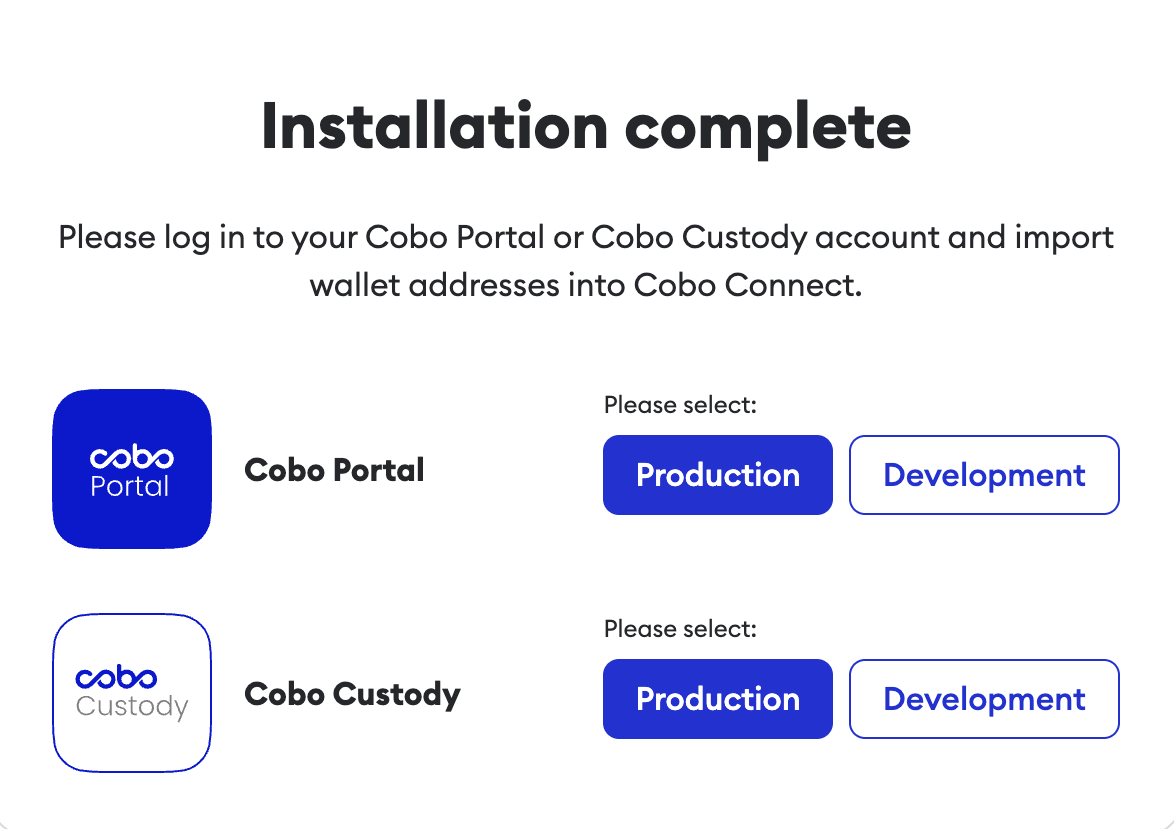
1. After the Cobo Connect extension is installed, select the Cobo Portal environment that you want to use to import wallet addresses.
 2. After selecting the environment and logging in, you will be redirected to the **MPC Wallets** page in your selected environment (for example, Cobo Portal production environment).
* To import MPC Wallet addresses, select a vault to proceed.
* To import Smart Contract Wallet addresses, go to the Smart Contract Wallets page first.
* To import Web3 Wallet addresses, go to the Custodial Wallets page and select the Web3 Wallets tab.
3. For MPC Wallets and Web3 Wallets, click
2. After selecting the environment and logging in, you will be redirected to the **MPC Wallets** page in your selected environment (for example, Cobo Portal production environment).
* To import MPC Wallet addresses, select a vault to proceed.
* To import Smart Contract Wallet addresses, go to the Smart Contract Wallets page first.
* To import Web3 Wallet addresses, go to the Custodial Wallets page and select the Web3 Wallets tab.
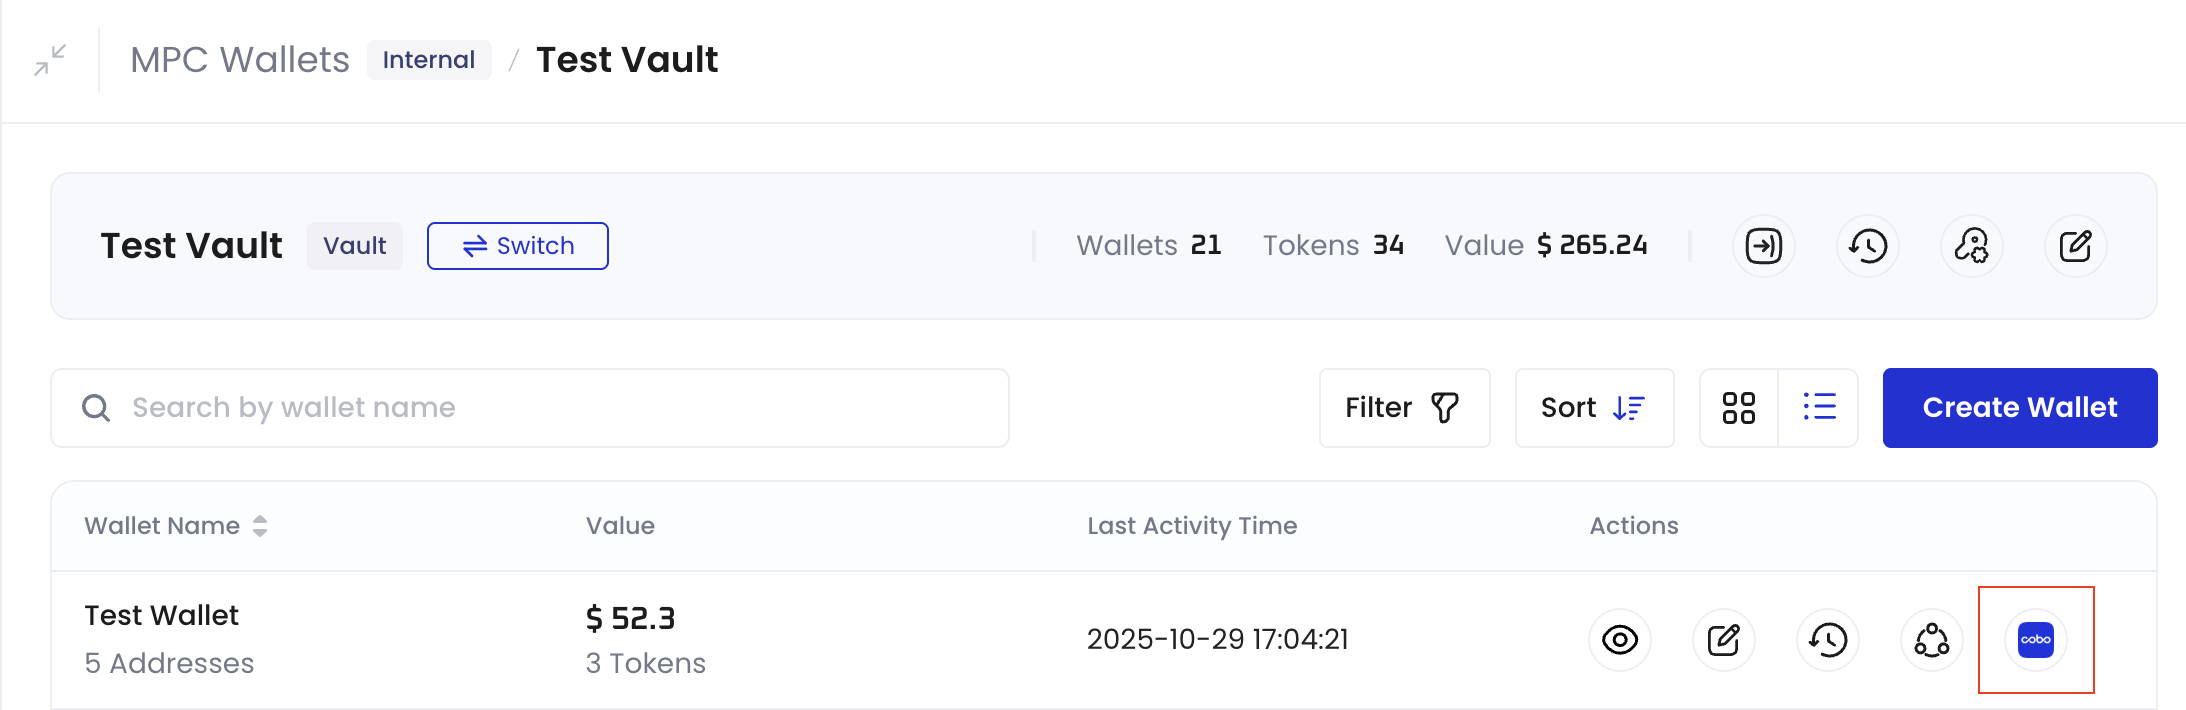
3. For MPC Wallets and Web3 Wallets, click  next to the wallet you want to import addresses from. For Smart Contract Wallets, click
  , then click . In the pop-up window, click **Allow** to confirm connection to Cobo Portal.
 4. Select the wallet addresses that you want to import, then click **Connect**.
5. On the confirmation page, click **Confirm**.
4. Select the wallet addresses that you want to import, then click **Connect**.
5. On the confirmation page, click **Confirm**.